¿Qué es un Sender y para qué sirve?
El Sender es una cuenta validada para la dirección de envío y de respuesta de los mensajes. Básicamente define quién es el emisor del correo enviado, así como también a qué dirección se deben enviar las respuestas a dicho mensaje.
El Sender engloba todos los datos de contacto de un remitente: nombre, email-remitente (emailFrom), email-respuesta (emailReply), y también incorpora otros datos extendidos como empresa, teléfono, dirección, cp, ciudad y país, con el objetivo de enriquecer esta identificación del emisor de un email y no evitar que tus comunicaciones se filtren a la casilla de correo no deseado o spam de los destinatarios.
¿Cómo configurar tu Sender?
Para comenzar a generar conversaciones, es requisito que configures el Sender dentro de emBlue. Lo primero que te solicitará la plataforma será la configuración de tu Sender principal o por defecto.
Para configurarlo, deberás dirigirte a la sección “Remitentes y dominios” de tu cuenta emBlue. Desde esta sección, podrás crear un nuevo Sender o remitente, dando click en la opción que indica “Agregar remitente”
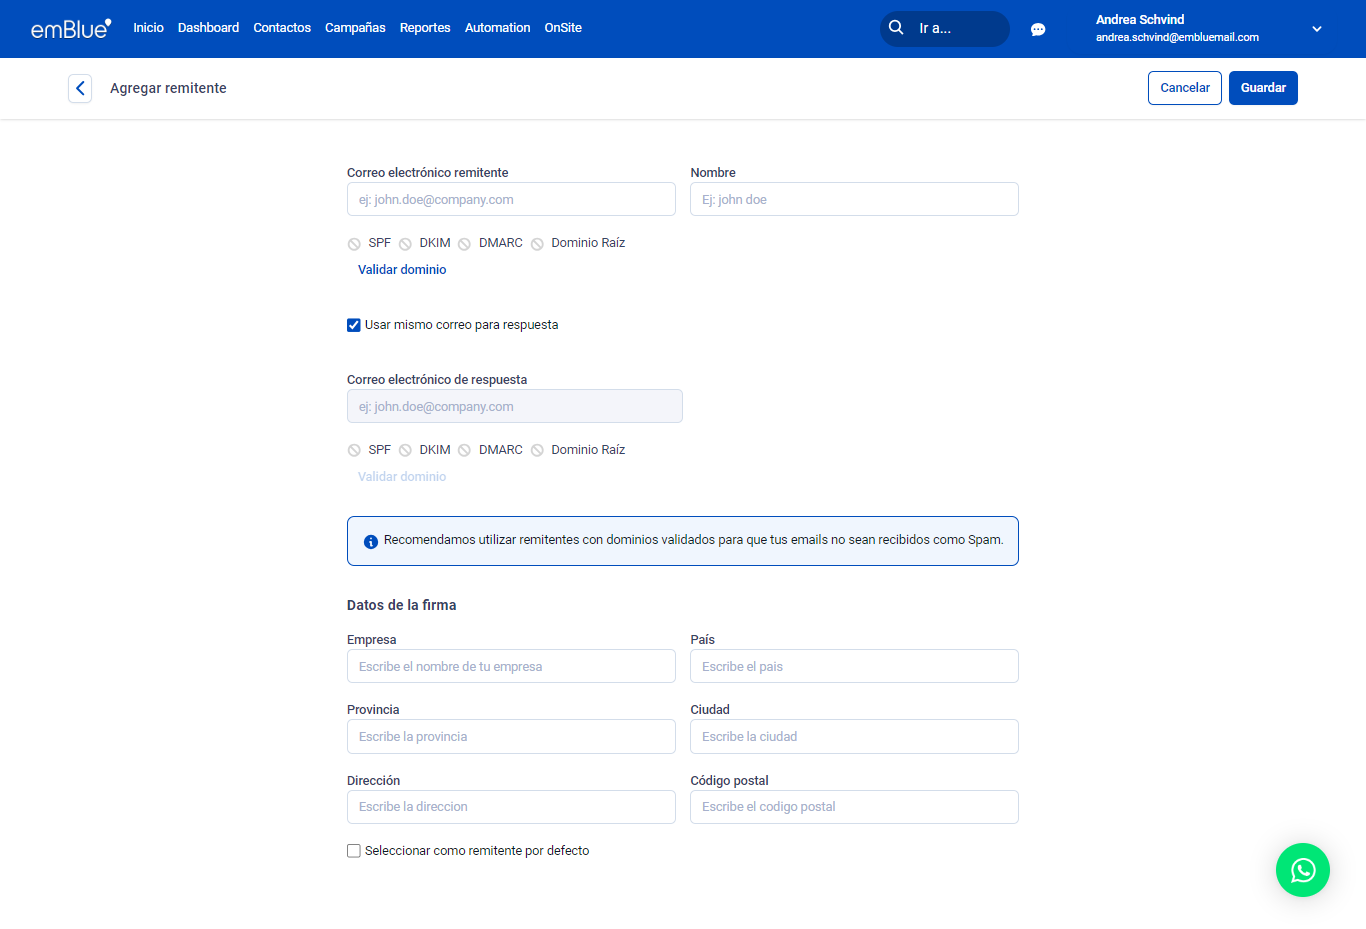
De esta forma, visualizarás una pantalla donde podrás completar todos los datos de tu sender o remitente elegido.
¿Qué datos debo completar en el Sender?
A continuación, te detallaremos cada una de las secciones que deberás completar para configurar tu sender correctamente.
Datos del remitente
- Correo electrónico remitente: email que la plataforma utilizará para realizar tus envíos. Es importante que el mismo sea un email corporativo, con el dominio de tu empresa.
- Nombre: nombre del remitente que tus contactos visualizarán al momento de recibir tus envíos. Puede ser el nombre de tu empresa, el nombre del colaborador o área encargada de las comunicaciones, etc.
- Correo electrónico de respuesta: casilla de email a la que llegarán las respuestas enviadas por tus contactos. Esta puede ser la misma casilla remitente (tal como se muestra en la imagen) o bien una casilla independiente. Al igual que en el caso anterior, deberá tratarse de una casilla corporativa con el dominio de tu organización.
Datos de la firma
En esta sección podrás configurar la firma que quieres que tus contactos visualicen al pie de tus comunicaciones. Es fundamental completar este paso ya que es otro requisito que evitará que tus mensajes sean filtrados a carpetas de spam o correo no deseado, adicionalmente es una manera de identificar tus comunicaciones ante tus contactos.
- Empresa: podrás ingresar el nombre comercial de tu empresa.
- País: el país de tu empresa, o bien de la sucursal de tu empresa a la cual corresponde el envío.
- Provincia
- Ciudad
- Dirección: aquí podrás ingresar la dirección comercial de tu empresa o bien la dirección de una sucursal.
- Código Postal
Por último, podrás marcar la última opción para que el remitente que configures se tome como remitente por defecto. Recuerda que podrás configurar más de un sender en tu cuenta.
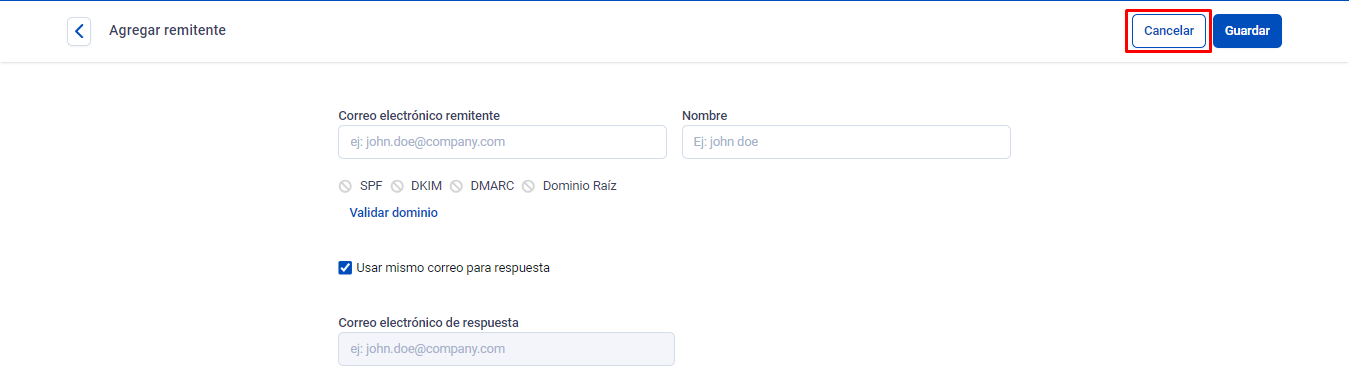
Una vez completados todos los datos requeridos, deberás dar click en “Guardar” para confirmar tu configuración:
De esta forma, se enviará un email de verificación a la casilla elegida como remitente:
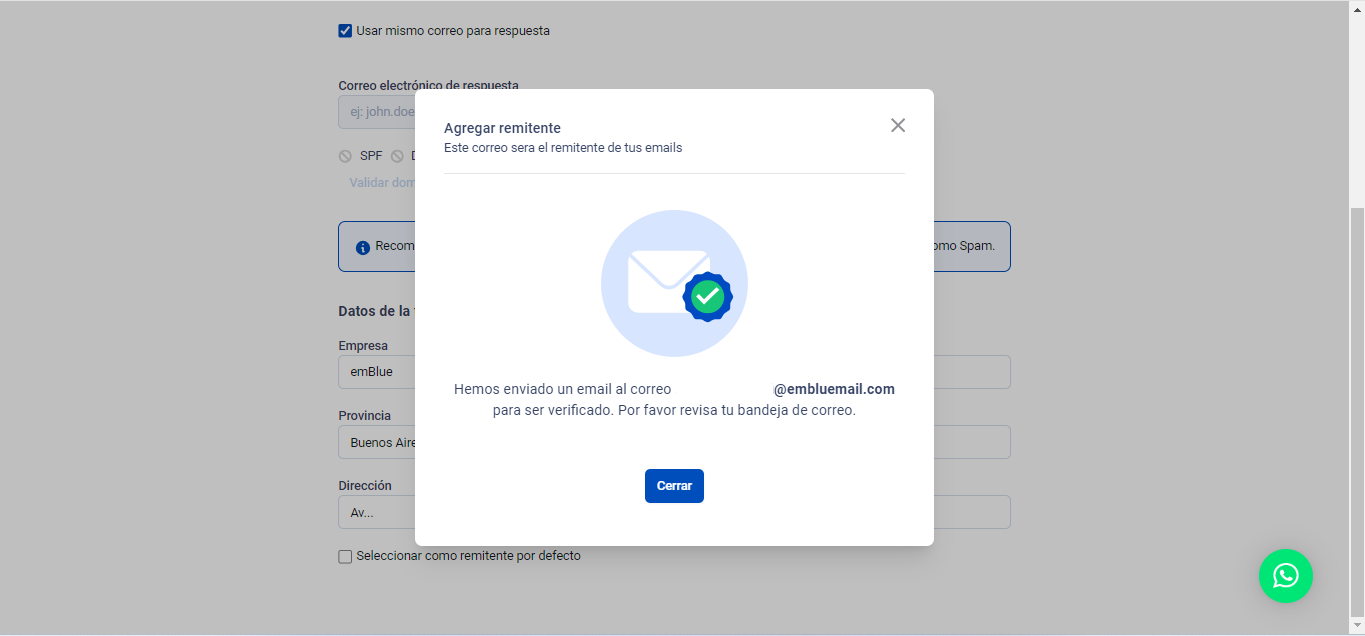
En dicha casilla, recibirás este mensaje y deberás dar click en el botón que indica “Verificar este e-mail” para confirmar que se encuentra autorizado para realizar envíos desde nuestra plataforma.

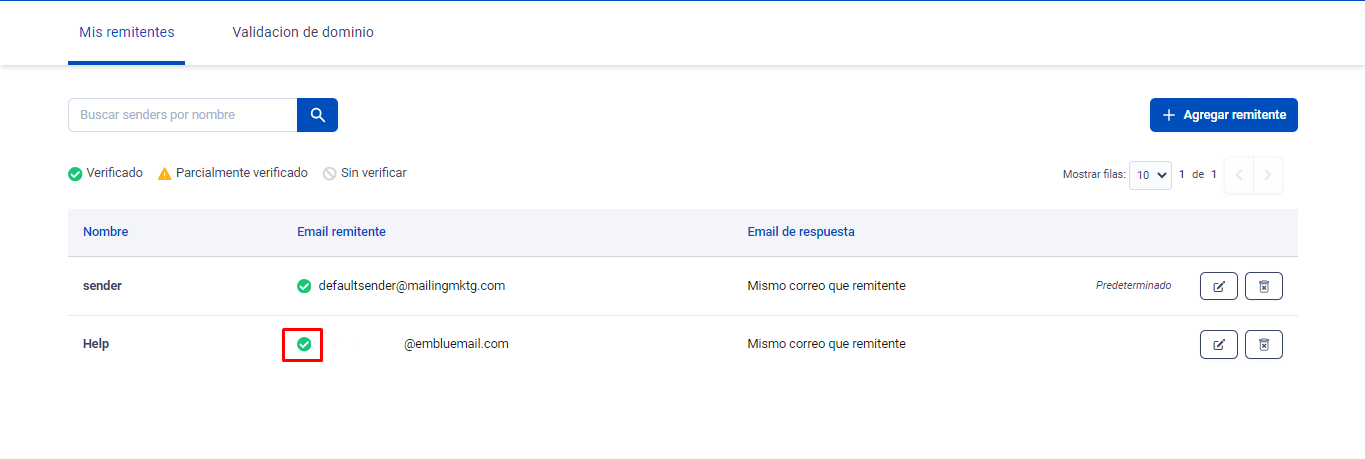
Validación de dominio
Al incorporar un nuevo email remitente, emBlue verificará primeramente los registros SPF, DKIM, DMARC y CNAME de tu dominio corporativo. Cuando los mismos se encuentren alineados a las Políticas de Autenticidad requeridas por emBlue, la plataforma te indicará mediante un check (✓) que tu Sender se encuentra correctamente validado.
Es recomendable hacer esta configuración para mejorar tu tasa de entregabilidad. Pero, aunque no la realices, podrás enviar emails a tus destinatarios. Para realizar dicha configuración, te recomendamos consultar nuestro artículo: ¿Cómo se configuran los registros SPF, DKIM, DMARC y CNAME?
vCard: ¿Qué es y para qué sirve?
En resumidas palabras, una vCard es una tarjeta personal electrónica.
Con la opción “Agregar a mis contactos” presente en el pie de un email, el destinatario podrá descargar una vCard con todos tus datos para incorporarlos fácilmente a su agenda, tarea que maximizará la llegada de tus correos a la bandeja de entrada.
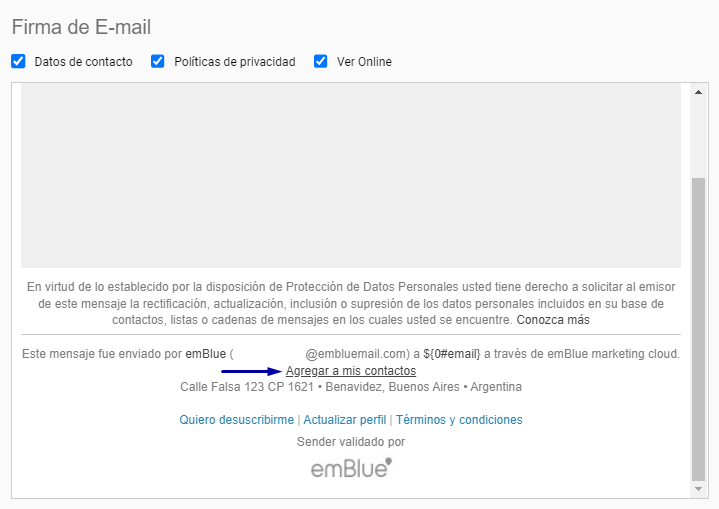
Es por esto que maximizamos la importancia del uso de los “datos extendidos” solicitados en el momento que se crea un Sender.
Si te han quedado dudas en alguno de los pasos o no pudiste completarlos, puedes escribir a soporte@embluemail.com y te ayudaremos.